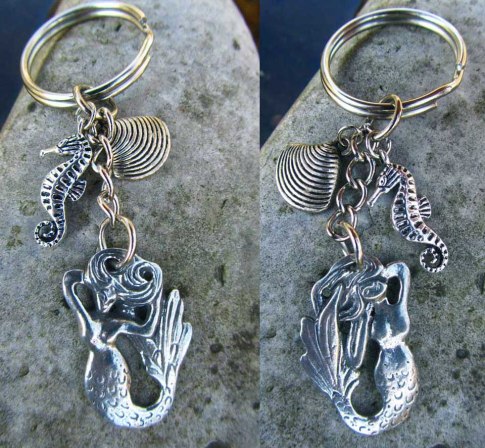
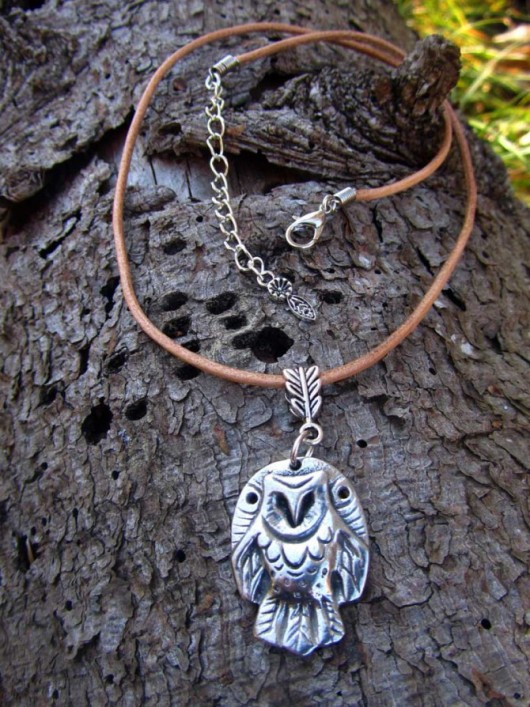
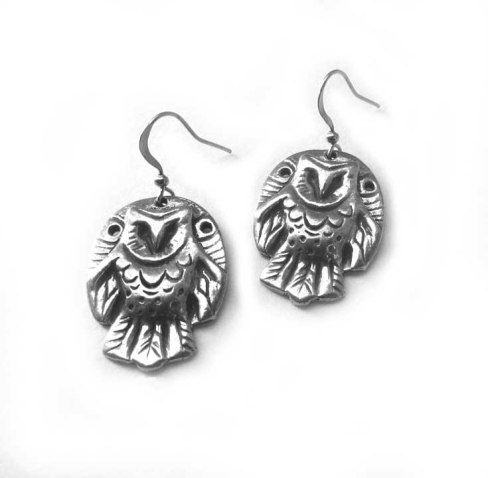
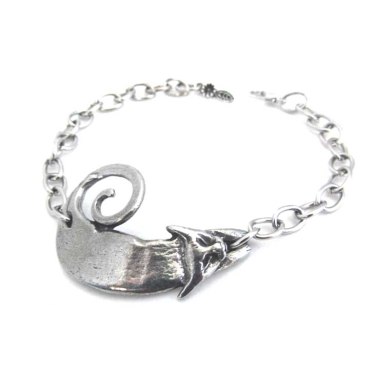
As mentioned in my previous post I love creating unique pewter jewellery items by casting them from my original wax carvings, using the lost wax process. Here, I’m going to outline the basic process I use for carving a wax piece, in this case, an owl. I have already made an owl for my jewellery range, but that was an experiment in using precious metal silver clay for the first time, and the result was not exactly what I was looking for, though a sweet design, I wanted something more precise which is what jeweller’s carving wax is perfect for.
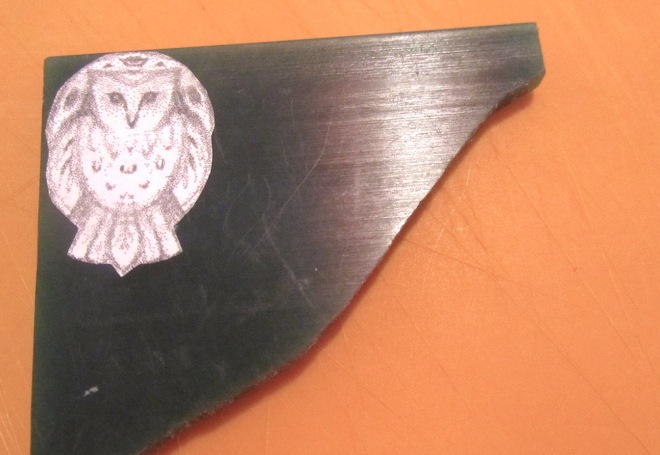
The wax I use is the green modeler’s’s wax which can be bought online through any metal casting & jewelry supply store. It is extremely hard, and gives very fine detail; it can be sanded, melted, scraped and even machine worked with a hand tool / Drummel. First, I draw the design – I trace over the lines with a ball point pen in order to transfer the impressions of these lines onto the wax underneath.

Then, I cut this out and glue it over a piece of the green wax with normal school type stick glue. I then cut around the wax to get the basic shape of the design – initially I use a little hand saw, then linocut or woodcarving tools to do this. Now it is basically a process of copying my drawn design on the wax using sculpture techniques – more relief than actual 3-D sculpture.

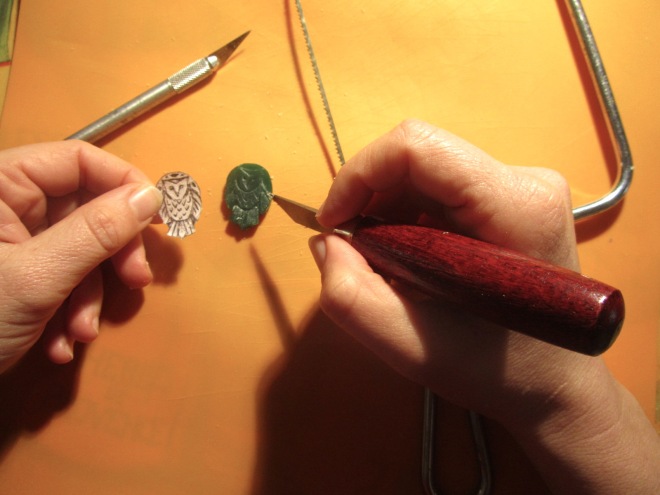
It’s important to work in layers, and not to make the wax too thin or else when it comes to casting the metal it may not work well. The techniques I use depend on what I am creating. I love to just use a basic craft or surgical knife to slowly scrape and sculpt the form as well as different grades of sandpaper to smooth and sculpt the model further.
I have not melted any wax for this design, as I did for my Tree of Life design, where for the fruit I melted blobs of the green wax, which is fun to do – best to do with with a very hot flame as you would get from a little hand-held butane torch.

Wax carving is a technique which is best learned with at least one session taught by a professional, as one needs to understand how to fuse wax together if something breaks, how to avoid air bubbles so that the metal casting does not get ruined, and other techniques that are quirks of the trade. I am by no means a skilled wax carver, but I was lucky enough to spend a few hours learning from one so that I do understand the basics and I kind of just follow my creative intuition and feel for the lovely wax medium.

It is also important that the wax model has been smoothly sanded and cleaned before it is sent to be cast. I sand the model as I work in conjunction with the sculpting knife. Sometimes it can be hard to imagine what the finished piece will look like cast in shiny metal, with a lovely dark patina applied to pick out the details….
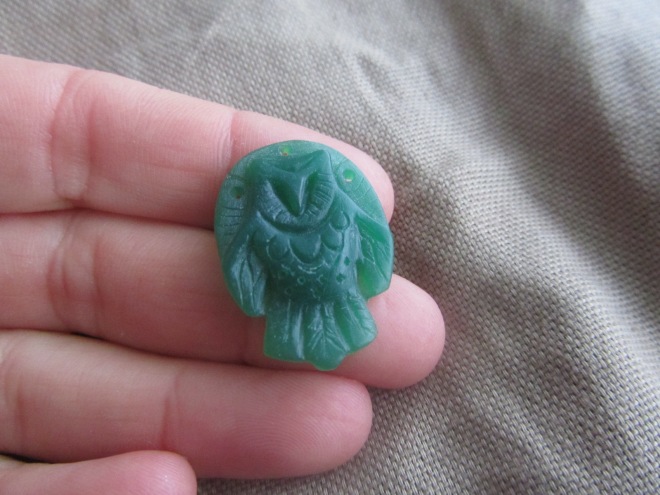
I am actually going to try to cast this at home, not with the lost wax method, but I am going to make a silicone mold from the wax carving, and then gravity cast with pewter just to see how it turns out. Eventually, I will send this wax carving to a professional investment casting company that specialises in lost wax casting in silver. After I have the silver master copy,I can further touch it up until I’m completely happy with the design, then get it cast in lead-free pewter in multiple molds using spin / centrifugal casting, again with a professional who specialises in this method of casting.
 Thanks for visiting, I hope you enjoyed reading about this wonderful process – please feel free to post any comments or questions you may have !